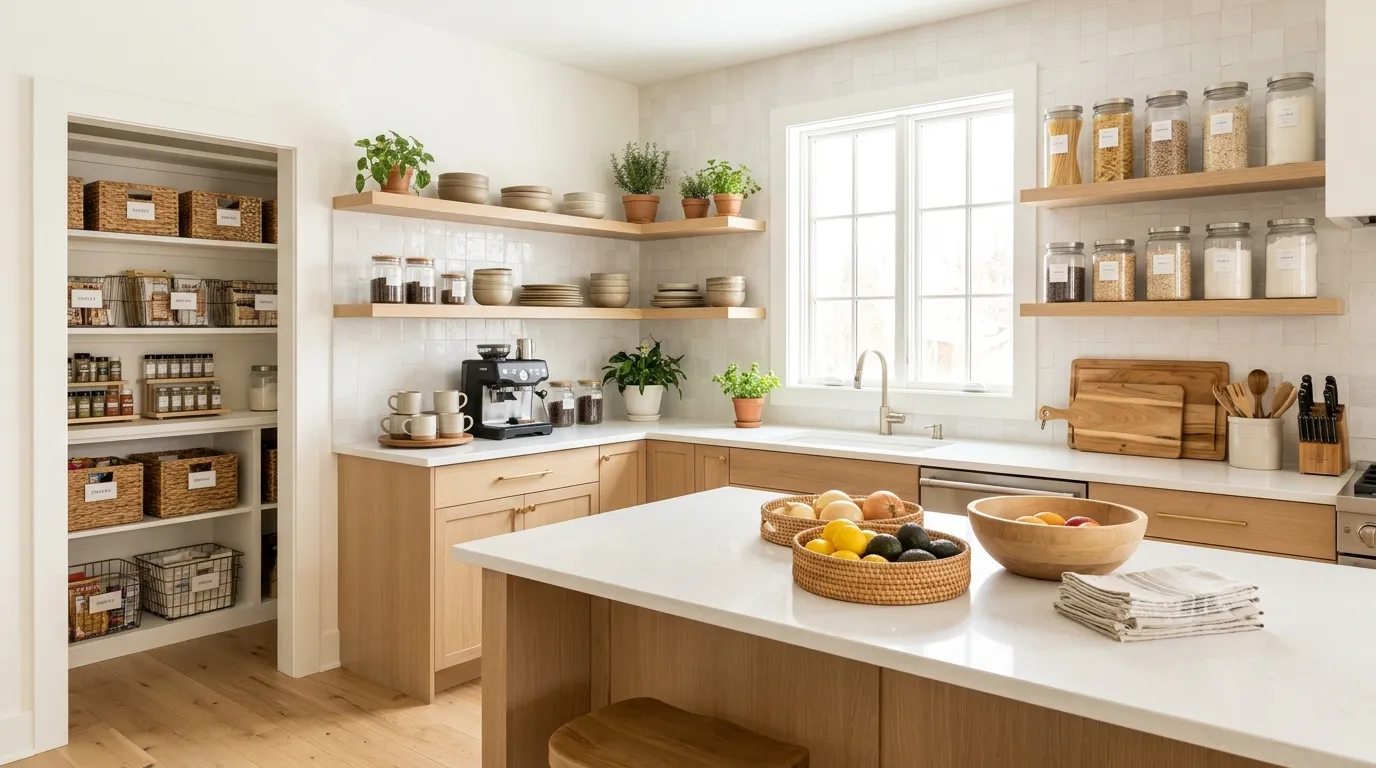
18 January Kitchen Organisation Ideas for a Clean and Easy Year
A new year is the perfect time to give your kitchen a fresh start! A few simple changes can turn crowded cabinets, messy countertops, and overflowing pantry shelves into a clean, organised space you love using every day.
These January Kitchen Organisation Ideas will help you create a kitchen that feels lighter, looks beautiful, and works better for your daily routine. Whether you’re dealing with limited storage, cluttered drawers, or a pantry that needs attention, there are plenty of practical solutions tso try without spending a fortune.
From labeled pantry baskets and clear food containers to organized spice drawers and simple weekly cleaning routines, these ideas make everyday kitchen tasks easier. In my experience, the best organization systems are the ones that are simple to maintain. You don’t need a complete kitchen makeover to make a noticeable difference. Start with one small area, build better habits, and enjoy a cleaner, more functional kitchen throughout the year.
Clear Kitchen Counter-tops
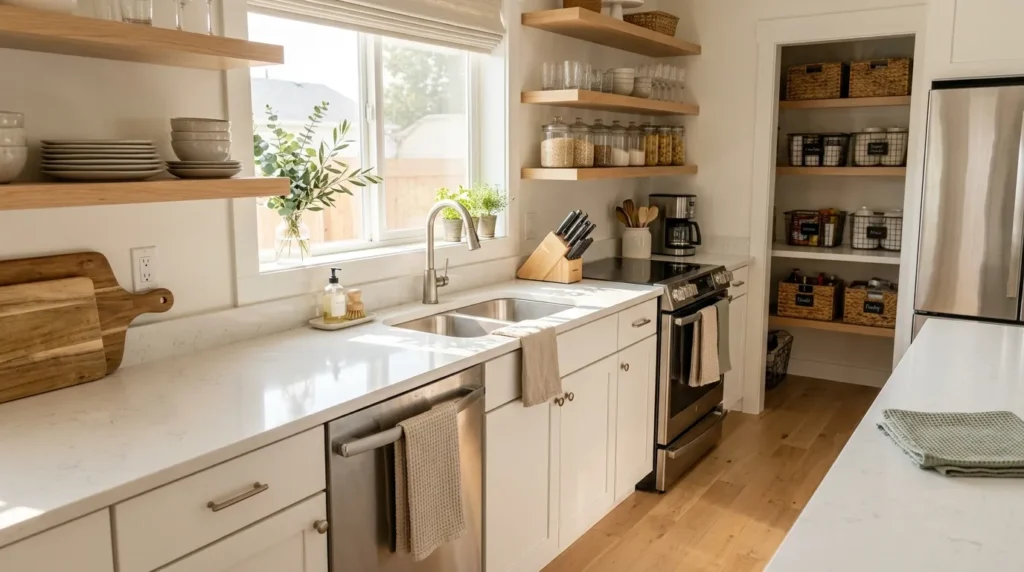
A clutter-free countertop instantly makes a kitchen feel cleaner and more spacious. Start by removing everything from your counters and returning only the items you use daily, such as a coffee maker, utensil crock, or fruit bowl. Keep occasional appliances inside cabinets instead of leaving them permanently on display.
Pay attention to the empty spaces around your sink and stove, too. These areas collect soap bottles, cooking tools, and random household items quickly. A simple countertop reset makes everyday cooking easier and gives your kitchen a fresh beginning for January.
Labeled Pantry Baskets

A pantry becomes much easier to maintain when every category has its own basket. Instead of searching through shelves for snacks or baking supplies, group similar items together in clearly labeled containers.
- Breakfast: Keep oatmeal, cereal, and pancake mixes together.
- Snacks: Use one basket for crackers, granola bars, and packaged treats.
- Baking: Store flour, sugar, chocolate chips, and baking powder in one area.
- Canned Goods: Group vegetables, beans, soups, and sauces.
- Cooking Essentials: Keep pasta, rice, and frequently used ingredients within easy reach.
Choose baskets that fit your shelf depth and leave enough room to pull them out comfortably. In my experience, simple category labels are more practical than overly detailed ones. Everyone in the household can quickly find things and return them to the correct place.
Clear Fridge Containers

Quick Tip:
Choose clear, refrigerator-safe containers in different sizes so you can separate produce, dairy products, snacks, and leftovers. Measure your refrigerator shelves before purchasing organizers to avoid wasting money on bins that do not fit.
A tidy fridge makes meal preparation quicker and helps prevent forgotten groceries from spoiling. Place frequently used foods on eye-level shelves and reserve lower drawers for fruits and vegetables according to their storage needs. Keep raw meat securely contained on the lowest shelf to prevent leaks from contaminating other foods. A quick weekly check keeps everything fresh and manageable.
Organised Spice Drawer

BEFORE:
Spice jars are scattered across shelves, making it difficult to find the right seasoning while cooking. Half-used packets and duplicate containers take up valuable space.
AFTER:
Every spice has a dedicated place inside a neatly arranged drawer. Matching jars and readable labels make everything easy to identify at a glance.
Start by checking expiration dates and combining duplicate spices when appropriate. Transfer frequently used seasonings into matching airtight containers, then arrange them alphabetically or by cooking frequency. In my experience, angled drawer inserts work especially well because labels remain visible without moving several jars. Keep your everyday spices near the stove, but away from direct heat and moisture.
Under-Sink Storage Bins

A messy cabinet beneath the sink can make even a clean kitchen feel disorganized. Follow these simple steps to create a more useful storage area.
- Empty the Cabinet: Remove all cleaning products, clothes, and miscellaneous items. Wipe the cabinet floor and check for signs of leaks.
- Sort Supplies: Separate dishwashing products, surface cleaners, sponges, and spare trash bags.
- Measure the Space: Account for plumbing pipes before choosing storage bins.
- Add Containers: Use clear bins or a pull-out organizer to keep supplies accessible.
- Label Everything: Make it easy for family members to return items correctly.
Choose waterproof containers that are easy to remove and clean. Keep potentially hazardous cleaning products securely away from children and pets. A little vertical organization can create surprisingly useful storage beneath a crowded sink.
Drawer Dividers

| Comparison Point | Old Way | Better Way |
| Utensil Storage | Mixed together | Separate compartments |
| Finding Tools | Frequent searching | Quick access |
| Drawer Space | Poorly arranged | Clearly divided |
| Maintenance | Constant rearranging | Easy daily resets |
A well-divided drawer saves time during busy mornings and everyday meal preparation. Choose adjustable bamboo or sturdy plastic dividers that fit your drawer dimensions. Give each category enough room so utensils do not become trapped or difficult to remove. Keep frequently used items near the front, while occasional gadgets can stay toward the back.
Glass Food Storage Jars

DO:
- Choose airtight glass jars in different practical sizes.
- Add simple labels showing each ingredient’s name.
- Store frequently used ingredients on reachable shelves.
- Keep jars completely dry before filling them.
DON’T:
- Mix old and new ingredients without checking freshness.
- Fill containers beyond their comfortable capacity.
- Place heavy glass jars on unstable shelves.
- Store food without checking its expiration or condition.
Matching glass jars create a clean pantry appearance while making everyday ingredients easier to identify. I’ve noticed that square or rectangular containers often use shelf space more efficiently than round ones. Choose food-safe, airtight jars and keep a little extra room for easy scooping and refilling.
Coffee Station Setup

Cost: Low to moderate, depending on existing supplies.
Time: 30 to 45 minutes.
Skill Level: Beginner.
Best For: Small kitchens and daily coffee lovers.
Result: A dedicated beverage corner with less countertop clutter.
A small coffee station gives all your morning essentials one convenient home. Arrange your coffee machine on a sturdy tray, place mugs nearby, and store sugar, coffee beans, and filters in labeled containers. If counter space is limited, use a small wall shelf for mugs instead. Keep electrical appliances away from water splashes, and leave enough room to prepare your drink comfortably.
Vertical Baking Tray Storage
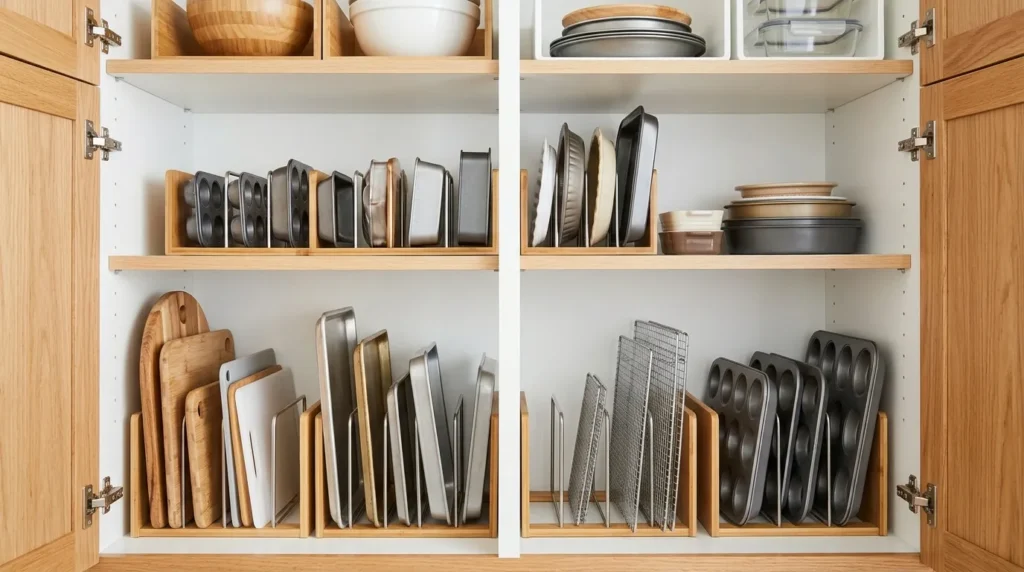
Baking trays become much easier to access when they stand upright instead of forming a heavy stack. Rather than removing several pans to reach the bottom one, give each item its own vertical slot.
Choose a sturdy metal or wooden organizer that fits inside your cabinet. Measure the height and depth before buying, especially if you have oversized baking sheets. Group similar trays together and place the most frequently used ones toward the front. This arrangement also helps protect nonstick surfaces from unnecessary scratching. It is a particularly useful January project for anyone who enjoys baking but struggles with crowded cabinets.
Our Facebook : Blossom Dream Decor
Refrigerator Door Organisation

- Group condiments by type, keeping sauces together and spread in a separate section.
- Remove empty bottles and expired products before arranging everything.
- Wipe sticky shelves and door compartments with a suitable food-safe cleaner.
- Keep frequently used condiments in the easiest-to-reach door sections.
A tidy refrigerator door makes everyday cooking and meal preparation less frustrating. Check the storage recommendations on food packaging because some products, including milk and eggs, are better stored on interior shelves where temperatures remain more stable. Avoid overcrowding the compartments so bottles stay upright and easy to remove.
Hanging Mug Rack
Quick Tip:
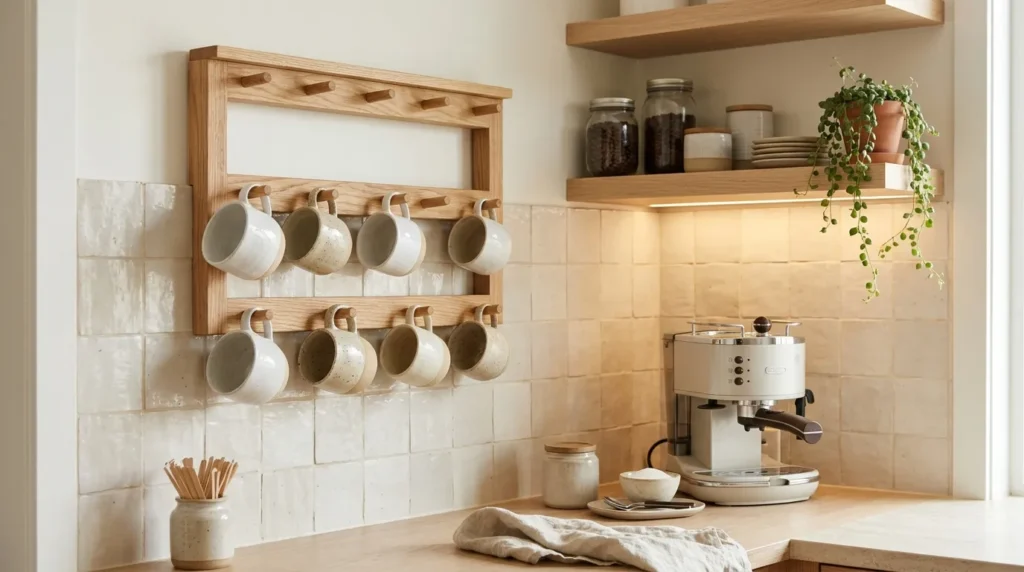
Install a sturdy mug rack near your coffee station or above an accessible countertop. Check the wall material and use appropriate anchors so the rack can safely support the weight of your mugs.
Hanging mugs frees up valuable cabinet space while making your favorite cups easy to grab every morning. Choose simple hooks that provide enough clearance between handles. Keep heavier mugs on lower hooks and avoid placing the rack above areas where falling items could cause injury. A wooden rack also adds warmth and a decorative touch to an otherwise plain kitchen wall.
Pantry Shelf Zones

BEFORE:
Pantry shelves often become crowded when groceries are placed wherever space is available. Snacks mix with baking supplies, while frequently used ingredients disappear behind less-used packages.
AFTER:
Each shelf has a clear purpose, making groceries easier to find and return. Breakfast ingredients stay together, baking supplies have their own section, and everyday cooking essentials remain within reach.
Start by removing everything and grouping similar products before deciding where each category belongs. Place heavier items on lower shelves and frequently used ingredients around eye level. Leave some open space for new groceries instead of filling every shelf completely. These simple storage zones make weekly shopping, meal planning, and kitchen cleanup much easier.
Stack-able Food Containers
- Empty the Cabinet: Remove mismatched containers and lids, then clean the shelves.
- Match the Lids: Pair every container with its correct lid before organizing.
- Sort by Size: Group small, medium, and large containers separately.
- Add Vertical Storage: Use a lid organizer to keep lids upright and visible.
- Stack Neatly: Nest matching containers together to save cabinet space.
Stackable containers make leftovers and meal preparation much easier to manage. Choose a matching set with practical sizes rather than collecting dozens of pieces you rarely use. Keep everyday containers near the refrigerator or food preparation area. Before buying more, check which sizes your household actually needs.
Wall-Mounted Kitchen Rails

| Feature | Option A: Countertop Storage | Option B: Wall-Mounted Rail |
| Counter Space | Uses valuable surface area | Keeps surfaces clearer |
| Accessibility | Items stay within reach | Hanging tools stay visible |
| Installation | No drilling required | May require wall anchors |
| Best For | Large countertops | Small or narrow kitchens |
| Appearance | Can look crowded | Creates a neat display |
A wall-mounted rail offers practical storage without taking up another drawer or countertop. Install it near your cooking area and hang only the utensils you regularly use. Choose sturdy hooks and suitable wall fixings, and keep hanging items safely away from open flames and hot burners.
Our Instagram : Blossom Dream Decor
Fresh Produce Baskets
DO:
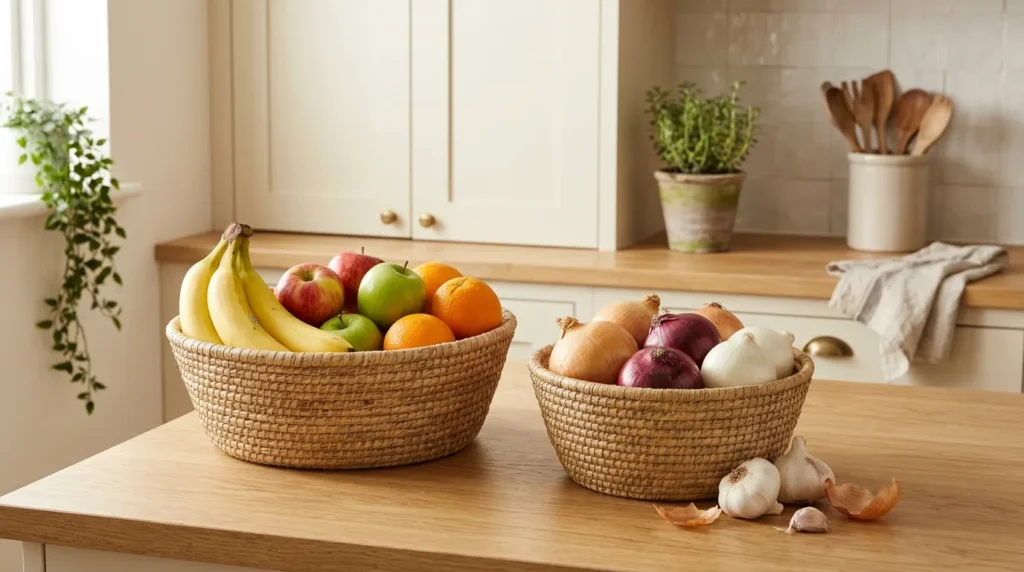
- Choose breathable baskets for suitable produce.
- Separate fruits and vegetables that require different storage conditions.
- Keep frequently used produce in an accessible location.
- Check baskets regularly and remove spoiled items.
DON’T:
- Store all fruits and vegetables together without checking their needs.
- Leave produce exposed to direct sunlight.
- Overfill baskets until items become bruised.
- Keep refrigerated produce on the counter unnecessarily.
Natural baskets add warmth while keeping suitable produce visible and easy to access. Choose shallow designs so fruits do not get crushed beneath heavier items. Remember that not everything belongs on the countertop: many vegetables and delicate fruits need refrigeration to stay fresh longer. Keep your display practical as well as attractive.
Organised Cleaning Caddy

Cost: Low, especially when reusing existing supplies.
Time: 20 to 30 minutes.
Skill Level: Beginner.
Best For: Busy households and small kitchens.
Result: Cleaning essentials stay together and are easier to find.
A dedicated cleaning caddy makes everyday kitchen maintenance more convenient. Choose a handled plastic or washable container with enough room for your most-used supplies. Arrange cloths, brushes, and suitable cleaning products in separate sections. Keep the caddy in a secure cabinet away from children and pets, and never mix cleaning chemicals. Restock it whenever you notice something running low.
Minimalist Kitchen Shelves
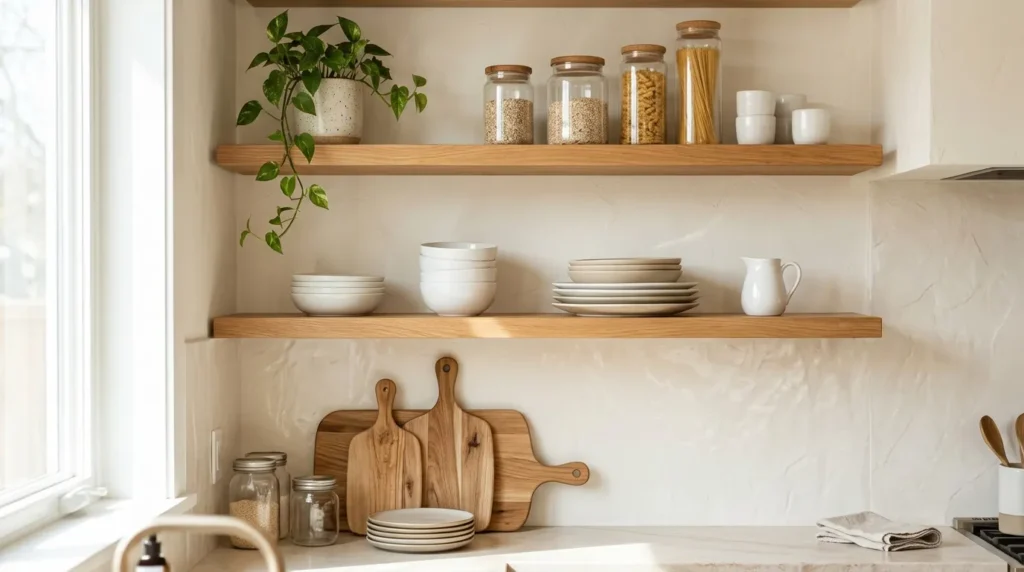
A little breathing room can make open kitchen shelves look much more organized. Instead of filling every inch with decorative accessories, choose a few useful pieces and arrange them thoughtfully.

- Stack everyday plates and bowls in small, accessible groups.
- Display matching glasses together for a balanced appearance.
- Use one or two wooden boards to add natural texture.
- Place frequently used jars on the lowest shelf.
- Leave small gaps between objects to prevent a crowded look.
Keep heavier dishes on sturdy lower shelves and secure floating shelves properly before adding weight. I’ve noticed that combining practical kitchenware with a few decorative pieces creates a more natural look than displaying decorations alone. The result is a kitchen that feels lighter while keeping everyday essentials within reach.
You May Like : 15 Living Room Ideas for After the Christmas Tree Comes Down
Weekly Kitchen Reset

Quick Tip:
Choose one consistent day each week for a 20 to 30-minute kitchen reset. Set a timer and focus on the areas that become messy most often.
A weekly routine helps maintain all the organization you’ve worked on throughout January. Wipe countertops, clean the sink, check refrigerator leftovers, return misplaced items, and restock frequently used supplies. Encourage everyone at home to spend a few minutes putting things back after cooking. Small, regular tasks prevent clutter from building up again and keep your kitchen feeling fresh throughout the year.
CONCLUSION
A clean and organized kitchen doesn’t happen overnight, but small changes can make everyday life much easier. These January Kitchen Organization Ideas offer simple ways to reduce clutter, create useful storage, and make your kitchen more enjoyable to use.
Start with one drawer, shelf, or counter-top and gradually work through the rest. I’ve seen how even a few thoughtful changes can completely shift the way a kitchen feels.
Save this article on Pinterest so you can revisit your favorite ideas, try the ones that suit your home, and share it with friends who love an organized kitchen. Here’s to a fresh, beautiful, and clutter-free year!