
12 Affordable DIY Christmas Wall Decor Ideas Under Budget
Want to make your walls feel festive without spending a fortune this Christmas? A few simple decorations can bring warmth, charm, and holiday magic to your home.
These Affordable DIY Christmas Wall Decor Ideas will help you create a cozy, welcoming space using inexpensive supplies, everyday materials, and a little creativity. Whether you’re decorating a small apartment, refreshing your living room, or adding seasonal charm to an empty hallway, there are plenty of ways to make your walls feel special without stretching your holiday budget.
From handmade paper snowflakes and rustic wooden signs to evergreen swags and charming Christmas garlands, these ideas offer inspiration for different styles and skill levels. I’ve noticed that small, thoughtful details often make a room feel more festive than expensive decorations. The best part? Many of these projects can be customized with materials you already have at home. Let’s explore these creative ideas and find the perfect Christmas wall decor for your space.
DIY Christmas Tree Wall

A Christmas tree on the wall brings festive charm without taking up valuable floor space or costing much money. Arrange lightweight evergreen branches in a triangle, starting with the longest branch at the bottom and gradually shortening each layer toward the top. Secure them with removable hooks or sturdy twine suited to your wall.
For Affordable DIY Christmas Wall Decor Ideas, this project works especially well in apartments, small living rooms, and homes where a full tree feels impractical. Add a strand of warm fairy lights and a few lightweight ornaments for extra sparkle. Keep the design simple so the branch silhouette remains clear and the wall looks stylish rather than crowded.
Paper Snowflake Display

- Choose sturdy paper: White printer paper works well, while cream cardstock creates a slightly more substantial finish.
- Cut different patterns: Combine simple six-point snowflakes with intricate designs for visual variety.
- Vary the sizes: Mix large and small shapes to create depth across the wall.
- Plan the layout first: Arrange the snowflakes on the floor before attaching them with wall-safe adhesive.
- Leave breathing room: Keep gaps between the pieces so each snowflake remains visible.
Handmade snowflakes are an inexpensive way to fill a blank wall with delicate winter detail. They suit bedrooms, entryways, and living rooms, especially when paired with neutral furnishings and soft lighting. For a polished arrangement, keep the shapes within one defined area rather than spreading them randomly across the entire room.
Rustic Christmas Wall Sign

Quick Tip:
Reuse a scrap wood board, an old picture frame, or leftover plywood as the base for your sign. Add a simple Christmas design with paint, a stencil, or hand-drawn lettering, and attach lightweight greenery with craft wire or suitable adhesive.
A handmade sign adds a personal touch without requiring expensive seasonal artwork. Choose a short design such as a simple tree silhouette or a small cluster of stars to keep the result clean and easy to create. Before hanging it, check the board’s weight and use appropriate wall fixings to keep it secure.
Hanging Evergreen Swag

BEFORE
A blank wall above a console or entryway table can make a room feel unfinished during the holidays. Store-bought wreaths and large decorations may also stretch a tight decorating budget.
AFTER
A simple evergreen swag adds natural texture and seasonal color using just a few branches, twine, and a ribbon. Its vertical shape draws the eye upward without covering much wall space.
Gather several lightweight evergreen branches and overlap their stems, securing them with floral wire or twine. Tie a ribbon near the top and attach a small pinecone for extra texture. Faux greenery is a practical choice if you want a reusable decoration that will not shed needles or need regular maintenance.
DIY Christmas Photo Wall
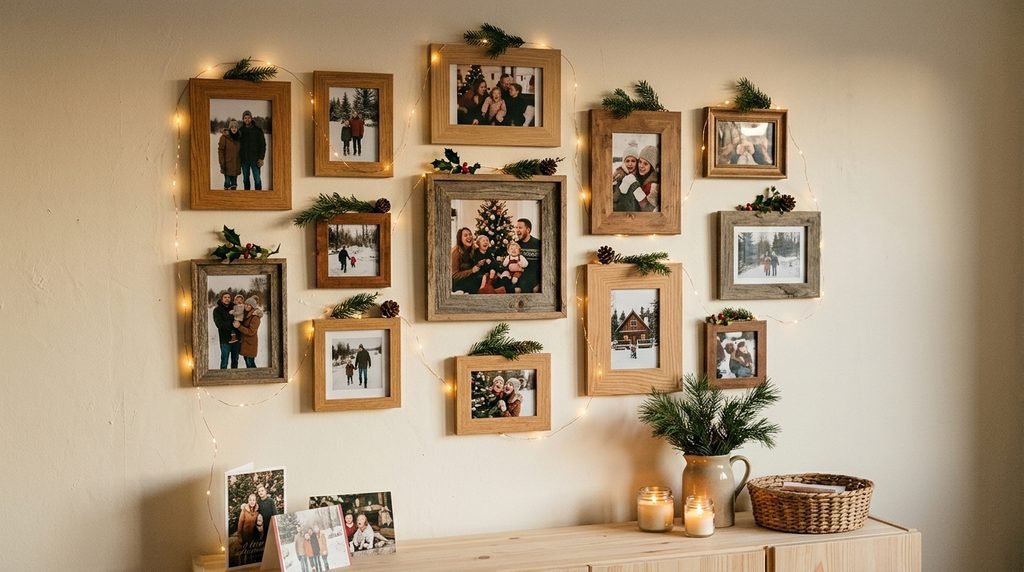
- Select your photos. Choose family memories, winter landscapes, or printable vintage Christmas illustrations.
- Pick matching frames. Reuse frames you already own or paint mismatched frames in white, black, or natural wood tones.
- Arrange before hanging. Lay the frames on the floor to test a balanced gallery layout.
- Add seasonal details. Tuck small faux evergreen sprigs between selected frames or place a simple ribbon above one frame.
- Hang securely. Use suitable picture hooks or wall-safe hanging strips according to each frame’s weight.
A festive photo wall adds meaning to your decorations because it combines holiday style with memories you already treasure. Keep the arrangement compact above a sofa, sideboard, or hallway table so it becomes a clear focal point. If you rent, lightweight frames and removable hanging solutions can make decorating easier while helping protect the walls.
DIY Christmas Card Garland
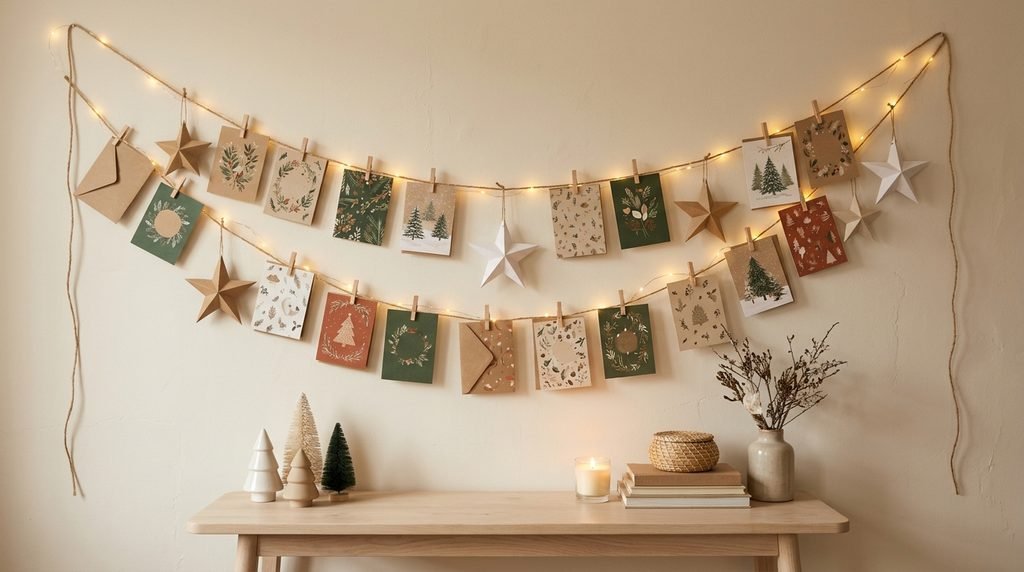
| Feature | Option A: Simple Twine | Option B: Lighted Garland |
| Main materials | Jute twine and wooden pegs | Twine, pegs, and fairy lights |
| Cost | Very low | Low to moderate |
| Visual effect | Rustic and understated | Warm and festive |
| Best location | Hallway or narrow wall | Living room or above a console |
| Setup | Quick and simple | Requires careful light placement |
A Christmas card garland turns greeting cards into wall decor instead of leaving them scattered across tables. Stretch the twine between secure attachment points, then clip cards at slightly different angles for a relaxed look. Choose battery-operated lights if desired, follow the manufacturer’s safety instructions, and keep the display away from heat sources.
DIY Christmas Wreath

DO
- Shape a wreath from a cardboard ring or an inexpensive wire base.
- Attach faux evergreen sprigs, pinecones, or dried orange slices with craft wire.
- Add one ribbon in burgundy, cream, or forest green.
- Hang the wreath with a suitable wall hook or over-door hanger.
DON’T
- Use a flimsy base that bends under the decorations.
- Overload the wreath with heavy ornaments.
- Place dried materials near candles or heaters.
- Attach fresh greenery directly to a wall where moisture could cause damage.
A handmade wreath brings classic Christmas greenery to an entryway, living room, or dining area without the price of a designer version. Reusing decorations you already own keeps costs low and makes it easy to coordinate the wreath with your existing color scheme. Choose faux foliage for a reusable decoration that stays neat throughout the season.
Our Facebook Page : Blossom Dream Decor
Framed Christmas Printables
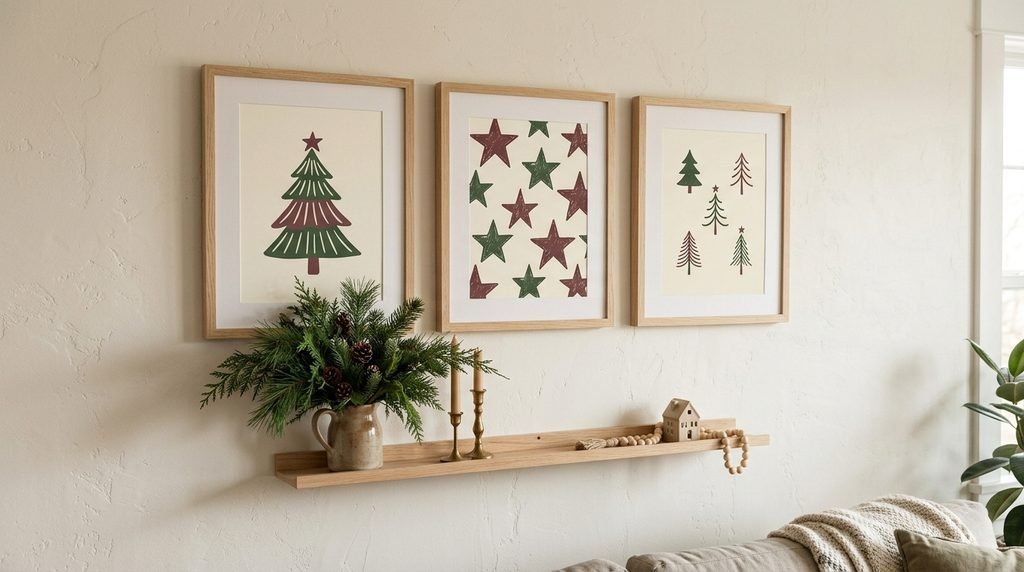
Cost: Low, especially with frames you already own.
Time: 15 to 30 minutes.
Skill Level: Beginner.
Best For: Empty walls, shelves, and entryways.
Printable holiday artwork is an easy way to decorate a bare wall without purchasing expensive seasonal prints. Choose simple illustrations, vintage-inspired Christmas trees, stars, or botanical greenery in colors that complement your room. Print them at home or use an affordable local printing service, then place them in existing frames.
For a coordinated display, use two or three prints with similar colors and different designs. Lean framed artwork on a shelf if you prefer not to make holes in the wall. Check the printing permissions before using downloaded designs, particularly if you plan to share or sell the finished decor.
Hanging Wooden Stars

Bare walls can feel more festive with a few lightweight wooden stars arranged in a simple cluster. Use craft sticks or thin wooden strips to create star shapes, secure the joints with suitable craft glue, and allow them to dry completely before hanging. Natural wood keeps the display warm and understated, while a touch of white paint adds a snowy finish.
Arrange three to five stars at different heights above a console or beside a doorway. For a little extra sparkle, wrap a small section with thin ribbon or pair the stars with a short evergreen sprig. Keep the shapes lightweight and use appropriate hanging materials so the display remains secure and easy to remove after Christmas.
Our Instagram : Blossom Dream Decor
DIY Christmas Bell Hanger

- Choose lightweight bells: Small metal or wooden bells are easier to hang and arrange.
- Reuse ribbon and twine: Leftover craft supplies keep the project affordable.
- Create a layered arrangement: Hang three or five bells at slightly different lengths.
- Add a seasonal accent: Tie a small evergreen sprig or pinecone near the top.
- Secure the hanger properly: Use a wall hook rated for the finished decoration’s weight.
A bell hanger adds a little shine and traditional Christmas character to a blank wall without requiring a large display. Try hanging it near an entryway, above a narrow console, or beside a framed holiday print. Keep the design simple, and coordinate the ribbon with other accents in your room for a more finished appearance.
DIY Fabric Christmas Banner

Quick Tip:
Use leftover felt, cotton fabric, or an old plain pillowcase to create a simple triangular or rectangular banner. Cut the fabric into your preferred shape, attach it to a wooden dowel or ribbon, and decorate it with stitched stars, fabric trees, or small felt ornaments.
Fabric banners are lightweight, easy to store, and useful when you want seasonal wall decor without bulky frames. Choose two or three coordinating colors and keep the design bold enough to stand out from a distance. Hang the banner above a sideboard or in a small entryway, making sure the dowel is secured and the fabric stays clear of heat sources.
For more ideas, check out our previous article: 14 DIY Wall Decor Ideas for an Amazing Room Refresh
Pine-cone Wall Arrangement
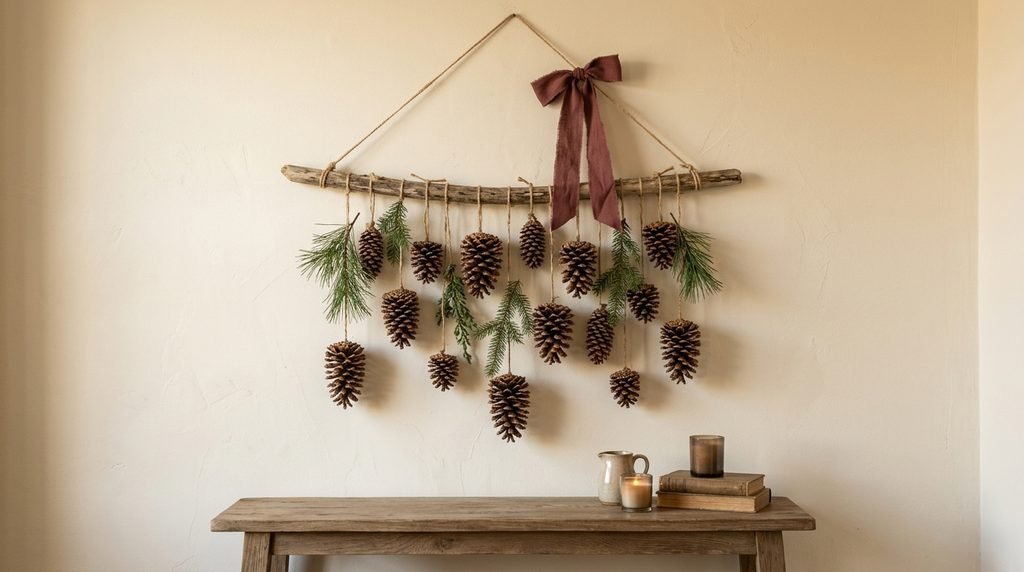
BEFORE
A large empty wall can make holiday decorations feel scattered, especially when the only seasonal accents sit on tables and shelves. Buying framed artwork or oversized wall pieces may not fit a limited budget.
AFTER
A simple pinecone arrangement adds natural texture and dimension using inexpensive materials collected or reused for crafting. The mix of wood, greenery, and twine creates a rustic focal point without needing a large amount of wall space.
Select clean, dry pinecones and arrange them along a sturdy branch or lightweight wooden dowel. Secure each piece with craft wire or another suitable attachment, then add a small ribbon for colour. Keep the arrangement light enough for the chosen hook, and inspect collected pine-cones before bringing them indoors.
CONCLUSION
Decorating for Christmas doesn’t have to mean spending more or filling your home with expensive accessories. These Affordable DIY Christmas Wall Decor Ideas show how simple materials, handmade touches, and a little imagination can create a warm, festive atmosphere in any room. Start with one project that matches your style, reuse supplies whenever possible, and enjoy making something special for your home. I’ve seen how small seasonal details can make everyday spaces feel more welcoming during the holidays. Save this article on Pinterest for inspiration, try your favorite ideas, and share it with someone who loves budget-friendly Christmas decorating. Happy crafting!




One Comment