
16 Gallery Wall Ideas That Create a Gorgeous Focal Point
A blank wall can make even a beautifully decorated room feel unfinished. The right artwork, frames, and arrangement can turn that empty space into a stunning focal point.
These 16 gallery wall ideas offer inspiration for creating a display that feels personal, stylish, and thoughtfully arranged. Whether you love minimalist prints, family photographs, vintage frames, botanical artwork, or colorful abstract designs, there is an option to suit your home and decorating style.
You do not need expensive artwork or professional design skills to create a beautiful gallery wall. Sometimes, a few affordable frames and prints you already love are enough to get started. I’ve noticed that choosing a consistent color palette and planning the layout before hanging anything can make the entire process easier. From cozy bedrooms to narrow hallways and spacious living rooms, these ideas will help you make better use of your walls while adding personality and warmth to your home.
Neutral Frame Gallery

The secret to a polished gallery wall is choosing artwork that feels connected without looking identical. Start with a palette of cream, beige, black, and soft brown, then mix abstract prints, line drawings, and botanical illustrations. The repeated colors create harmony, while different images keep the arrangement interesting.
Before hanging anything, lay your frames on the floor and experiment with spacing. Aim for consistent gaps of about two to three inches between frames. I’ve noticed that repeating just two or three colors often makes a collection of inexpensive prints look much more intentional and professionally styled.
Family Photo Display

- Mix color and black-and-white photos. This combination creates visual variety while keeping the overall display cohesive.
- Choose matching frames. Black, white, or natural wood frames help different photographs feel connected.
- Include different moments. Combine family portraits, travel memories, celebrations, and everyday snapshots.
- Plan the arrangement first. Arrange the frames on the floor before making holes in the wall.
- Keep the center at eye level. Position the main part of the display where it feels comfortable to view.
A family photo wall turns an empty hallway or staircase into a personal feature that feels meaningful every day. For a balanced layout, place your largest or favorite photograph near the center and build around it with smaller frames. Choose images with similar lighting or tones for a display that feels thoughtful rather than cluttered.
Oversized Statement Art
Quick Tip:
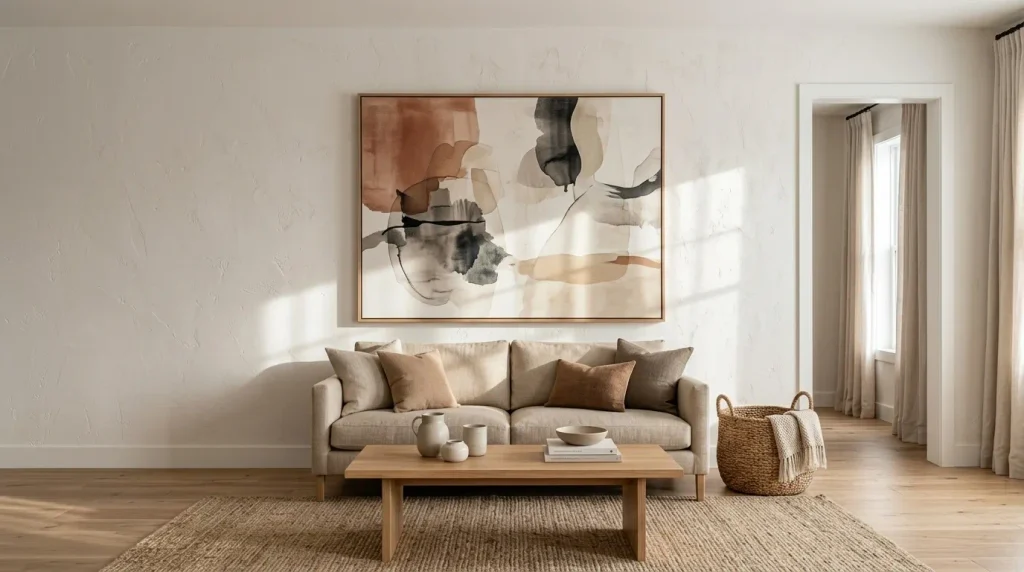
Choose one large artwork that fills roughly two-thirds of the width of the furniture beneath it. Before purchasing, measure your wall and sofa to check the proportions. If original artwork is outside your budget, look for affordable canvas prints or create your own abstract piece.
Oversized art creates a striking focal point without requiring a complicated arrangement. It works especially well above a sofa, bed, or dining room console where a collection of smaller frames might feel scattered. Choose artwork that repeats colors already present in the room so the display feels connected to the rest of your decor.
Vintage Eclectic Frames

BEFORE
A plain wall above a console can feel unfinished, especially when the furniture has vintage character but little decoration. Matching modern frames may also look too uniform for a room filled with antique or traditional pieces.
AFTER
Mix ornate gold frames, weathered wood borders, and simple dark frames to create a collected appearance. Combine landscapes, botanical prints, portraits, and small decorative artwork for variety.
The secret to making mismatched frames look intentional is repeating a few colors throughout the display. Keep the artwork within a related palette, such as muted greens, warm browns, cream, and faded gold. Thrift stores and flea markets are useful places to find affordable frames with character.
Minimalist Line Art
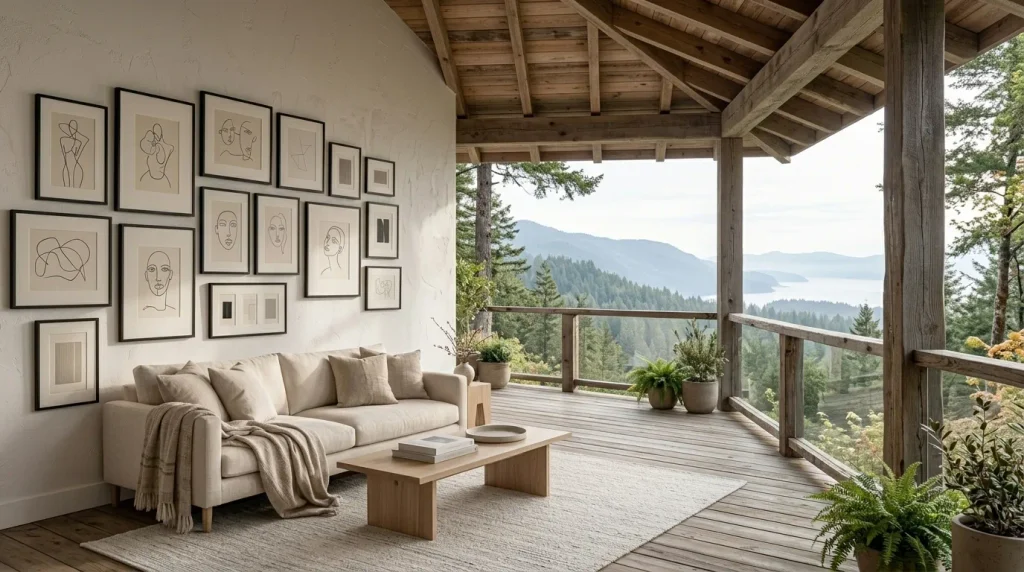
- Select a palette: Choose black, white, and one subtle accent color to keep the display cohesive.
- Pick related prints: Combine abstract faces, single-line drawings, and simple geometric designs.
- Choose slim frames: Thin black or natural wood borders keep attention on the artwork.
- Create a layout: Use evenly spaced rows for a structured appearance or a loose grid for a softer feel.
- Check the scale: Make sure the arrangement relates proportionally to the furniture below it.
Minimalist artwork can make a room feel organized without leaving the wall empty or boring. Printable designs are a budget-friendly choice, especially when paired with simple frames and white mats. For a polished result, keep the spacing consistent and avoid adding too many decorative objects nearby.
Botanical Print Collection

| Design Element | Option A: Formal | Option B: Relaxed |
| Frame arrangement | Symmetrical grid | Organic grouping |
| Frame finish | Matching oak | Mixed natural wood |
| Artwork | Similar botanical prints | Leaves, flowers, and plant studies |
| Spacing | Even gaps | Slightly varied gaps |
| Best setting | Dining room or office | Bedroom or cozy living room |
Botanical artwork brings natural shapes and soft colors into a room without requiring a large decorating budget. Choose prints with similar backgrounds, or use a consistent frame finish to connect different illustrations. For a cohesive look, repeat green tones through nearby plants, cushions, or small accessories.
Staircase Photo Wall

DO
- Follow the angle of the staircase with the overall frame arrangement.
- Keep the gaps between neighboring frames consistent.
- Place larger photographs near the center of the grouping.
- Use paper templates to test the layout before hanging frames.
DON’T
- Arrange every frame at the same height regardless of the stairs.
- Place heavy frames where they could be bumped easily.
- Mix too many frame colors without a unifying detail.
- Hang artwork so low that it interferes with the handrail.
Staircase walls offer plenty of vertical space for photographs that might feel crowded in a living room. Start by marking an imaginary diagonal line that follows the stairs, then arrange your frames around it. Keep the layout visually balanced, and use secure hanging hardware suitable for each frame’s weight and wall type.
Our Facebook Page : Blossom Dream Decor
Cozy Bedroom Gallery

Cost: Low to moderate | Time: Two to three hours | Skill Level: Beginner Best For: Bedrooms with blank walls above the bed | Palette: Cream, taupe, sage, and natural wood
A bedroom gallery should complement the bedding and headboard rather than compete with them. Choose artwork in soothing colors and arrange the frames into a compact rectangle above the bed. Leave enough space between the headboard and the lowest frames, and secure every piece carefully to prevent accidental falls.
Colourful Abstract Prints
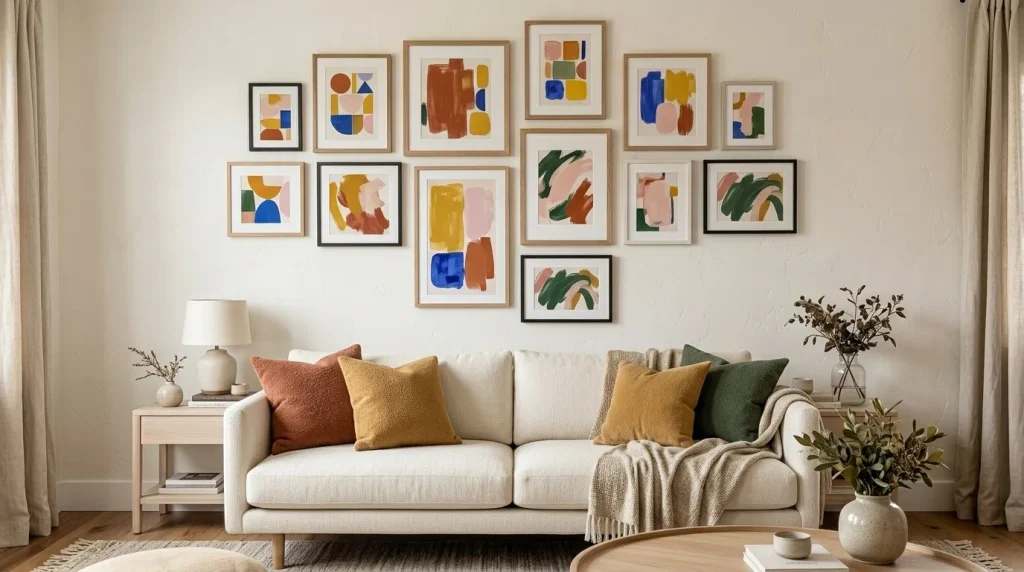
Bold artwork can bring personality to a neutral room without requiring colorful furniture or freshly painted walls. Choose three or four colors that already appear in your decor, then repeat them across the prints. This creates a connected look while allowing each artwork to have its own shape, pattern, and character.
For a balanced display, mix one dominant print with smaller pieces that echo its colors. If your sofa and rug are simple, brighter artwork can become the focal point. Keep surrounding accessories relatively restrained so the gallery wall remains the main attraction.
Picture Ledge Display
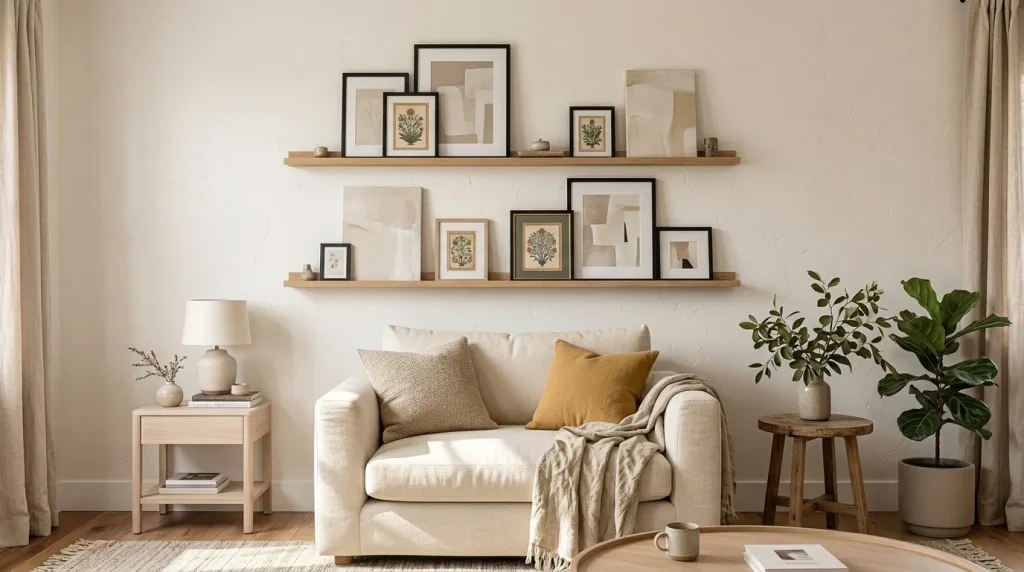
- Install one or two picture ledges at a comfortable viewing height.
- Layer larger frames behind smaller prints to create depth.
- Mix artwork with a small decorative object, such as a ceramic vase.
- Repeat frame colors for a cohesive appearance.
- Leave a little empty ledge space to keep the arrangement from looking crowded.
Picture ledges are especially useful if you enjoy changing your artwork throughout the year. Unlike a traditional gallery wall, they let you swap prints without making new holes every time. Lean frames securely against the wall, keep heavier pieces toward the back, and follow the manufacturer’s instructions for mounting the ledges safely.
Black And White Prints

Quick Tip:
Choose photographs with similar contrast levels so the collection feels unified. Print images in black and white, then use matching frames and consistent spacing to create a clean, intentional arrangement.
Monochrome artwork works well in rooms with colorful furniture because it adds visual interest without introducing competing shades. Mix landscapes, architecture, portraits, and abstract photography to keep the collection varied. For a classic layout, use a symmetrical grid; for a more relaxed room, combine different frame sizes around one central image.
Mixed Media Gallery

BEFORE
A wall filled with only framed prints can feel repetitive, especially when every piece has a similar shape and finish. The arrangement may lack the texture needed to complement a room with natural materials.
AFTER
Combine framed artwork with woven pieces, small sculptural objects, a decorative mirror, or textured wall hangings. Vary the shapes while repeating a few colors to keep the display connected.
Mixed media adds depth because each material interacts differently with light and surrounding decor. Start with framed artwork as your foundation, then introduce just two or three contrasting elements. Check the weight and mounting requirements of every object, particularly mirrors and ceramic pieces, before hanging them above furniture or in busy walkways.
Our Instagram :Blossom Dream Decor
Coastal Gallery Wall
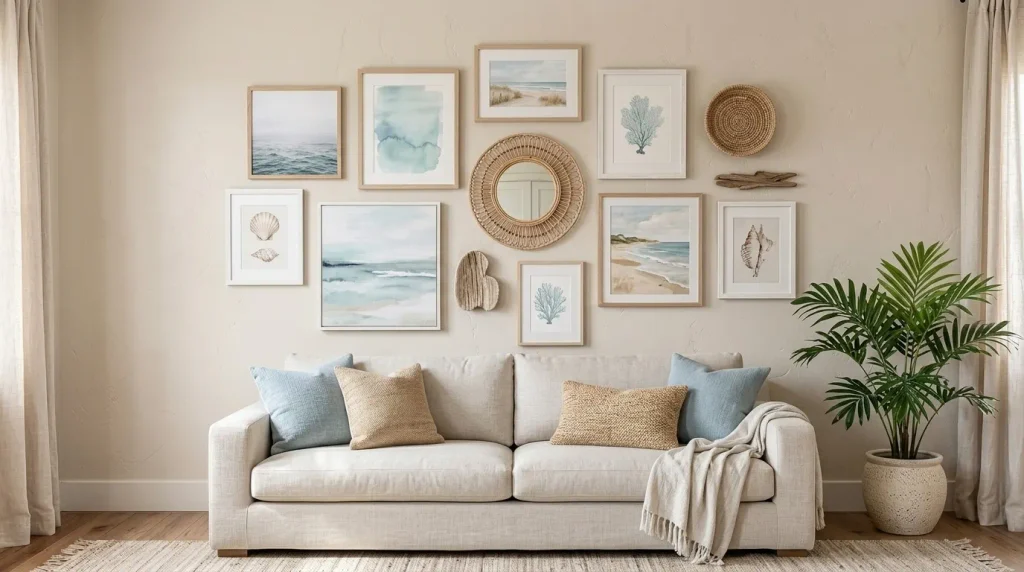
- Choose coastal colors: Combine soft blue, sandy beige, ivory, and muted sea green.
- Select related artwork: Mix ocean photographs, shell illustrations, beach landscapes, and abstract water-inspired prints.
- Use light frames: Natural oak, white, or pale wood frames reinforce the relaxed coastal style.
- Balance the arrangement: Place larger prints near the center and smaller pieces around them.
- Repeat the palette: Echo the artwork colors in cushions, throws, or nearby accessories.
Coastal artwork can bring a light, breezy feeling to a living room, bedroom, or hallway without adding bulky decorations. You do not need genuine seaside finds to achieve the look. Affordable printable art and simple wooden frames can create a similar effect while keeping the display fresh and uncluttered.
Rustic Wood Frames

| Design Element | Option A: Matching Frames | Option B: Rustic Mix |
| Frame finish | Consistent light oak | Weathered wood tones |
| Artwork style | Similar prints | Vintage and botanical variety |
| Overall mood | Clean and organized | Warm and collected |
| Best placement | Modern farmhouse rooms | Cottage and rustic interiors |
Wooden frames bring warmth to a gallery wall, particularly in rooms with hardwood floors, natural furniture, or woven accessories. For a coordinated result, repeat one wood tone in at least two places. If your frames have noticeably different finishes, connect them through similar artwork colors and balanced spacing rather than forcing every piece to match.
Small Space Gallery

DO
- Use vertical arrangements to make narrow walls feel taller.
- Choose smaller frames that fit the wall without crowding nearby furniture.
- Keep a consistent color palette to reduce visual clutter.
- Use paper templates to test spacing before hanging artwork.
DON’T
- Fill every inch of a small wall with frames.
- Choose artwork that is too tiny to see comfortably.
- Mix too many unrelated colors and patterns.
- Block switches, shelves, or frequently used wall areas.
A small wall can still become a focal point with thoughtful proportions. Start with three to five frames, then check how the arrangement looks from the doorway and main seating area. In compact rooms, a little negative space helps the artwork stand out and prevents the display from overwhelming the rest of the decor.
Read our previous article: Blossom Dream Decor
Asymmetrical Art Arrangement
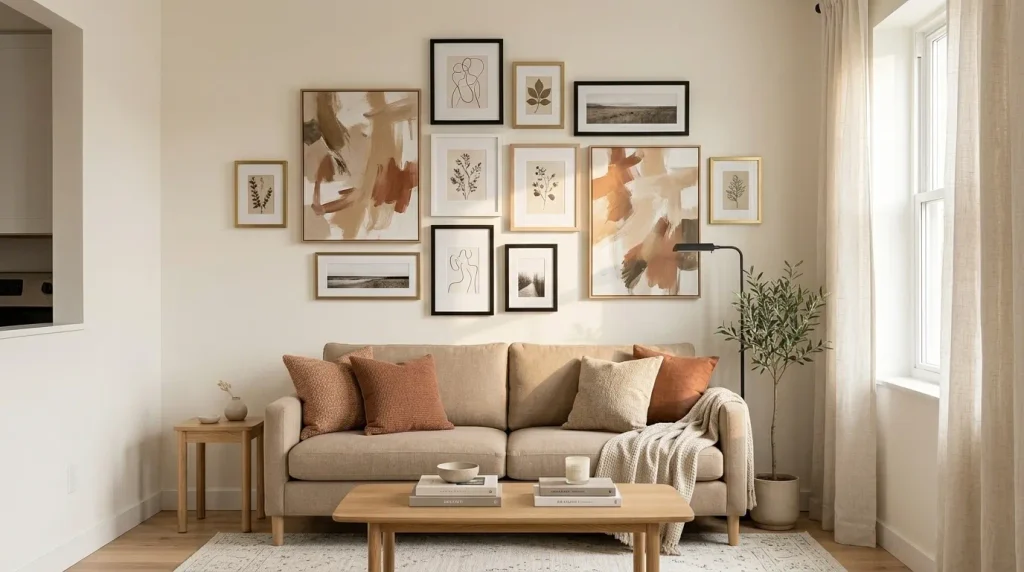
Cost: Low to moderate | Time: Two to three hours | Skill Level: Beginner Best For: Living rooms, hallways, and creative spaces | Result: A relaxed, artistic focal point
An asymmetrical arrangement creates visual interest without requiring every frame to line up perfectly. Start with your largest artwork slightly off-center, then balance it with smaller pieces on the opposite side. Vary frame sizes and orientations while keeping the gaps reasonably consistent. Step back frequently as you arrange the pieces, because the overall balance matters more than perfect symmetry.
Your gallery wall can be personal, practical, and beautiful without a designer’s budget. Save your favorite ideas on Pinterest, gather artwork you already own, and test your layout before making holes in the wall.
Conclusion
A beautiful gallery wall does not have to be expensive or perfectly matched. The best arrangement reflects your personality, complements your existing decor, and gives an ordinary wall a reason to stand out.
With these gallery wall ideas, you can experiment with family photos, botanical prints, vintage frames, minimalist artwork, and creative layouts that suit your space. Start with pieces you already own, plan your arrangement, and make small adjustments until everything feels balanced.
Save this post on Pinterest for your next decorating project, try your favorite idea, and share it with someone who loves home decor. Your blank wall is full of potential, so start creating a display that feels uniquely yours!




2 Comments